
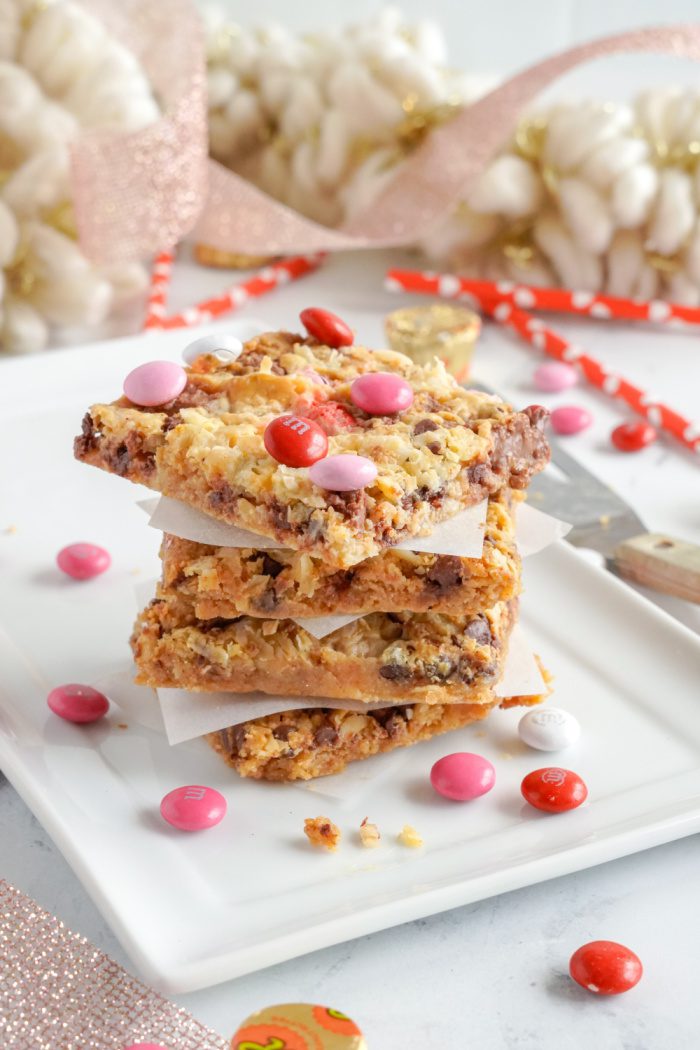
Valentine’s Day Magic Bars
Valentine’s Day Magic Bars! These Seven Layer Magic Cookie Bars are the perfect Easy and Amazing Holiday Magic Cookie Bar Variations!
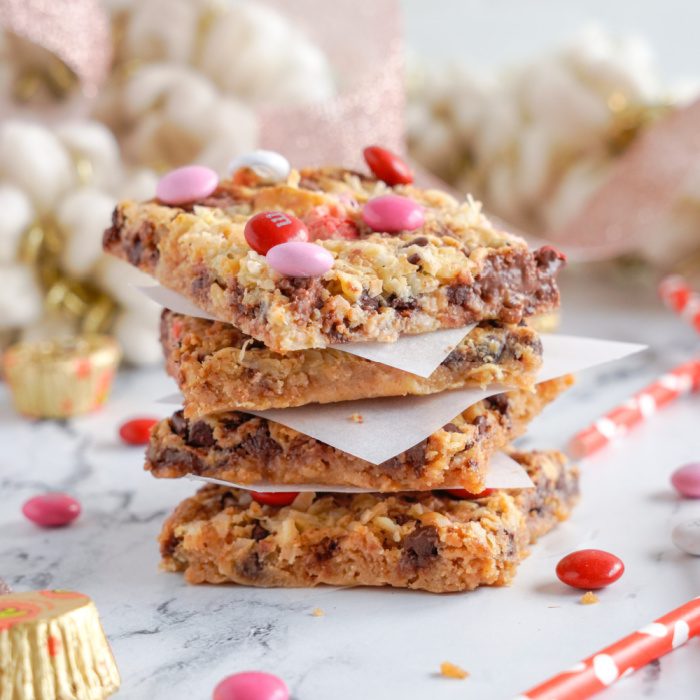
I can’t wait for you to try these AMAZING Valentine’s Day Magic Bars!
This dessert is the perfect Valentine’s Day treat! Packed with so much flavor! Perfect for a Galantine’s Day party too!
Be sure to try these other Valentine’s Day Dessert Recipes!
- Valentine’s Day Sugar Cookie Fudge Recipe!
- Valentine’s Day Hot Chocolate Cupcakes!
- Valentine’s Day Sugar Cookies!
Here’s why you will love Valentine’s Day Magic Bars!
- Super simple recipe and filled with Valentine’s Day fun!
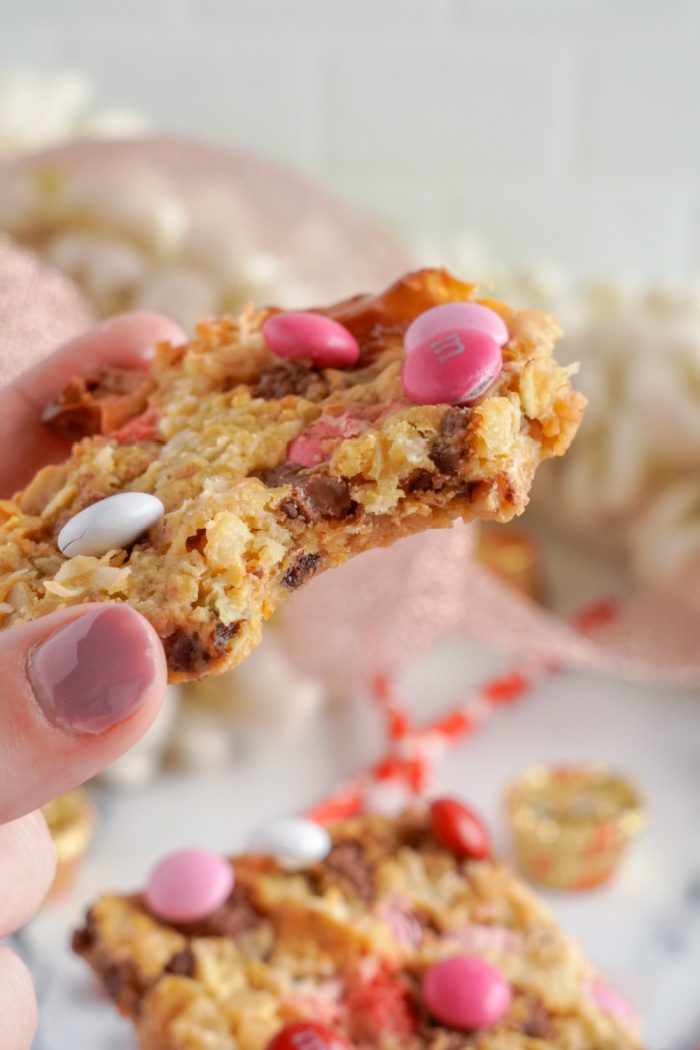
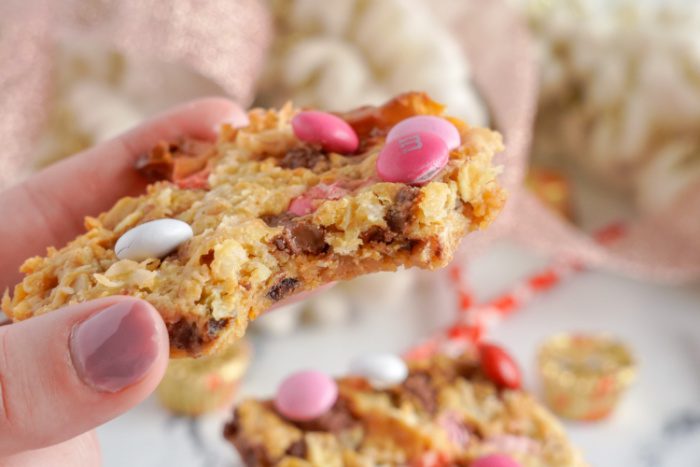
- Packed with AMAZING flavors – oats, coconut, Reese’s peanut cups, and mini chocolate chips!!!
- The perfect treat for your special valentine or a Galentine’s Day party!
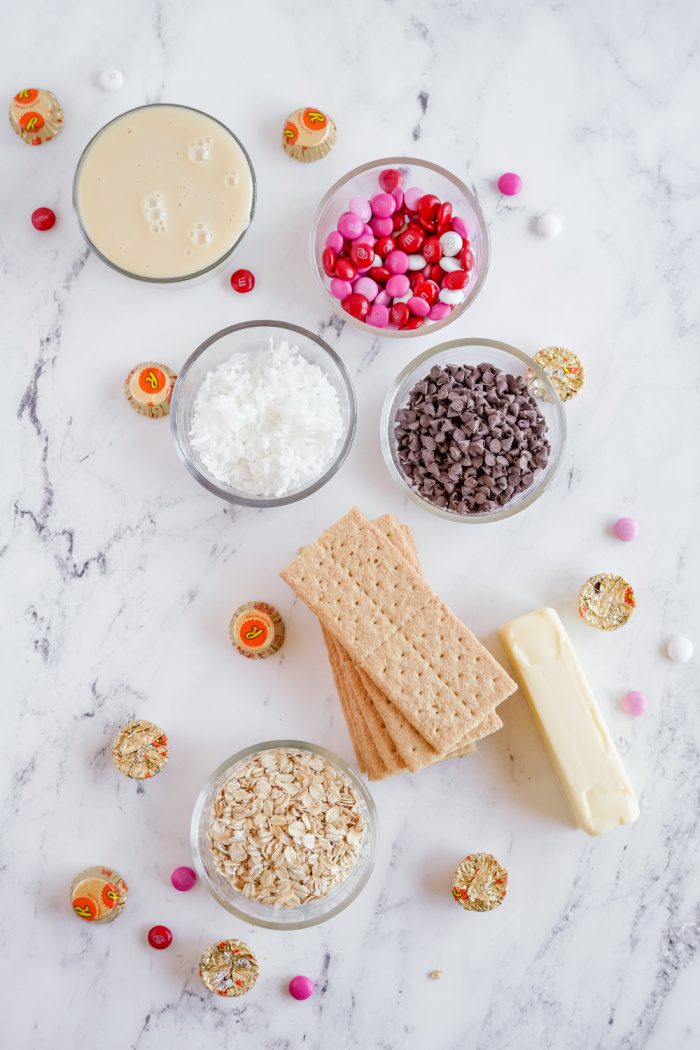
Here’s what you will need for Valentine’s Day Magic Bars!
- Old-fashioned oats and coconut flakes! These add great flavor and texture!
- Festive Valentine’s Day M&Ms!!!
- A blender or a food processor

How to make Valentine’s Day Magic Bars
I am loving this recipe for Valentine’s Day! It’s so fun and festive, plus SO tasty! Here’s how to make Valentine’s Day Magic Bars!
First, crush the graham crackers with in a blender or food processor. Then mix in the melted butter.
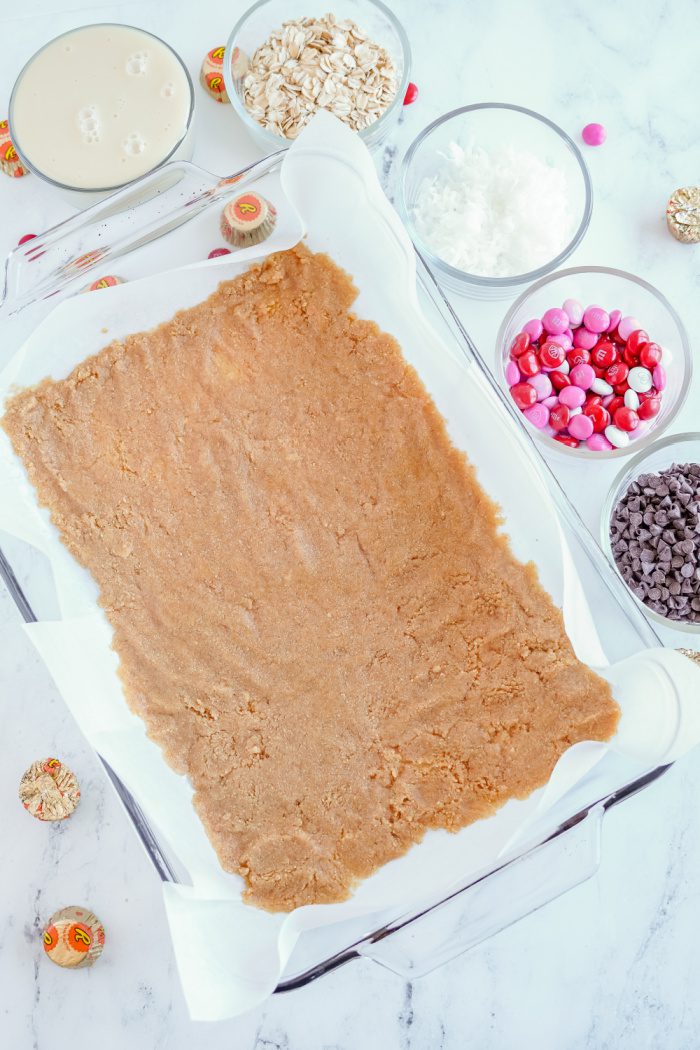
Next, line a 9×13 pan with parchment paper. Press the graham cracker and butter mixture into the bottom of the pan to make the crust.
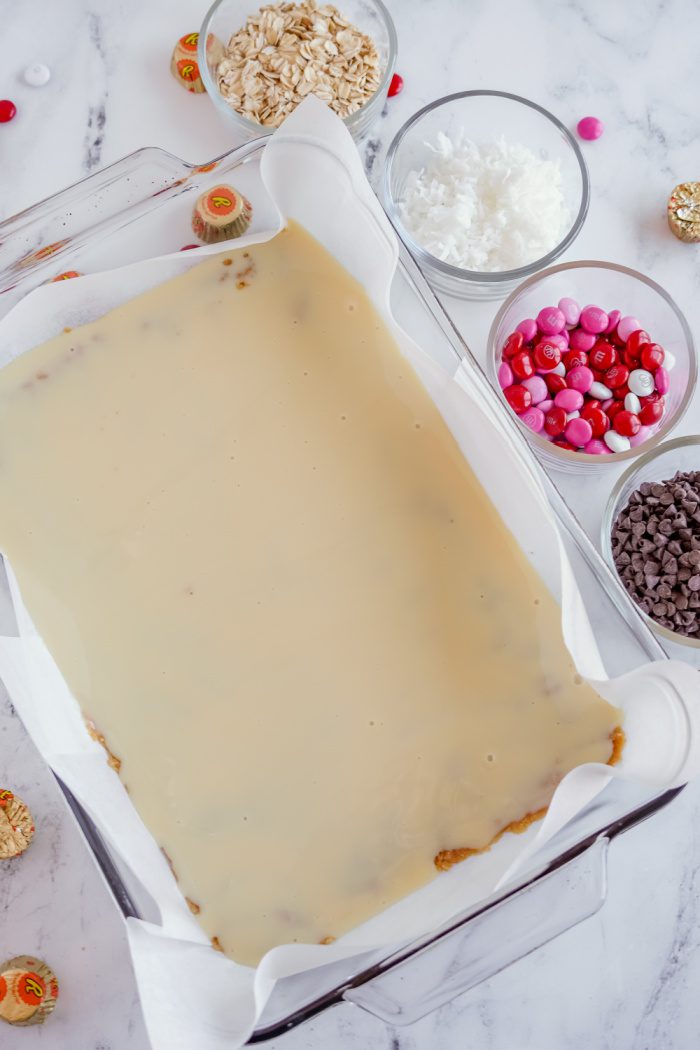
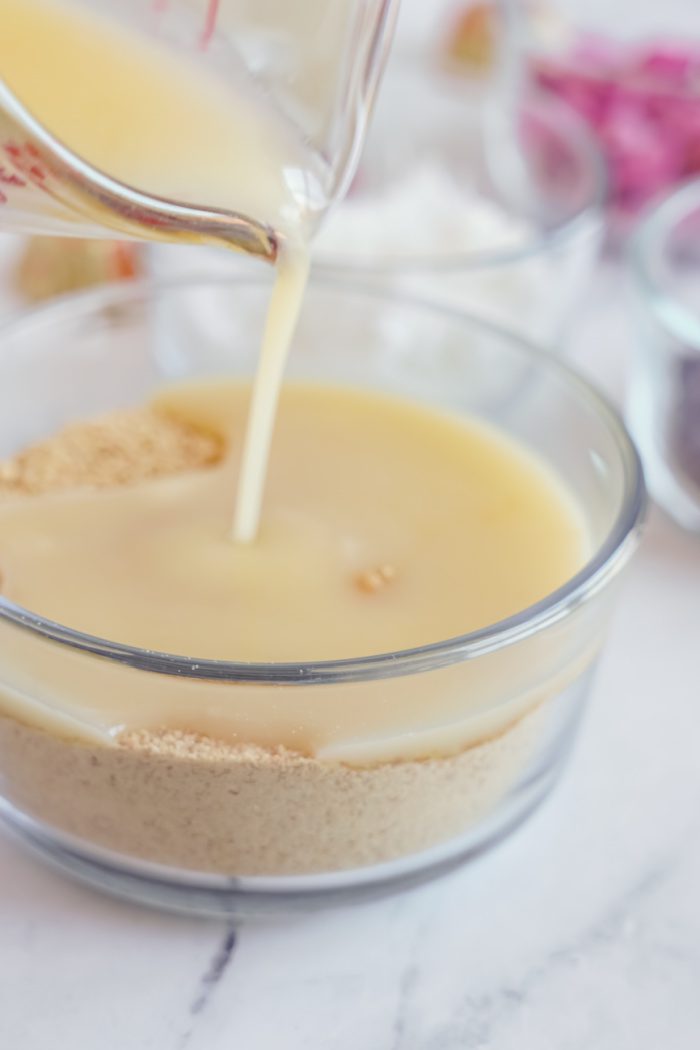
Now, pour in a can of sweetened condensed milk on top of the crust.
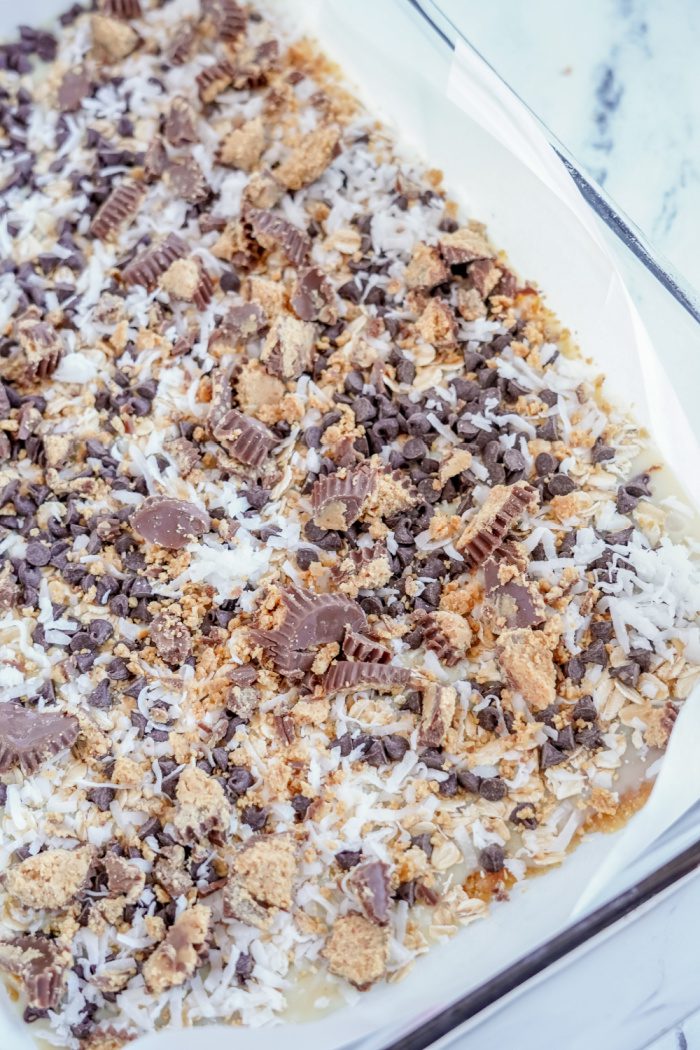
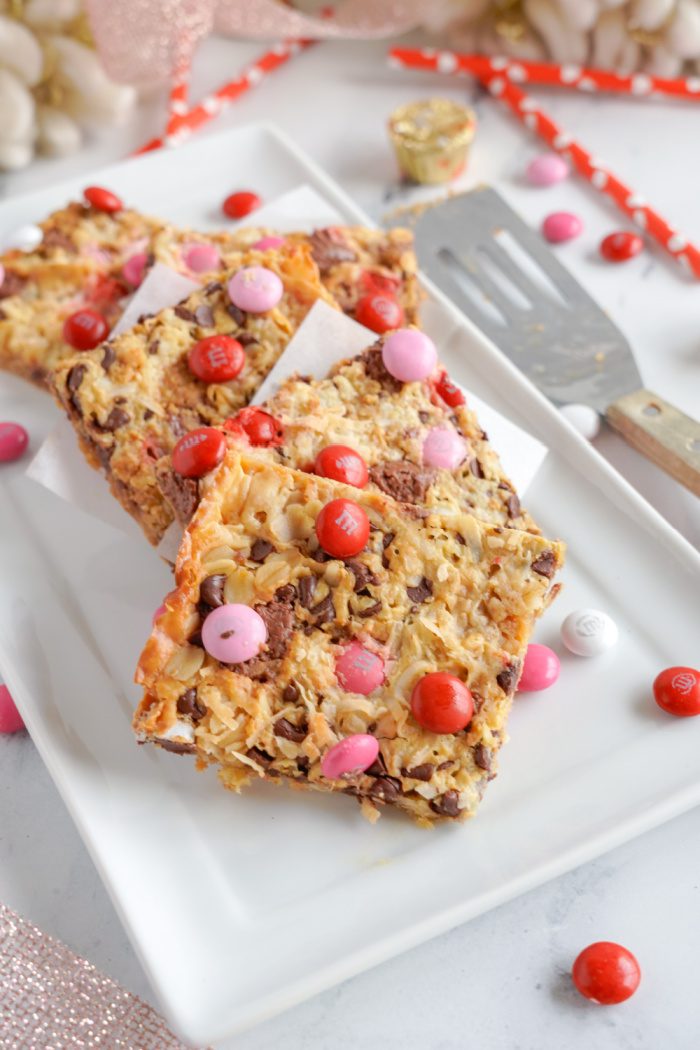
Time for the toppings! Sprinkle the top with coconut flakes, mini chocolate chips, oats, and crushed Reese’s peanut butter cups.
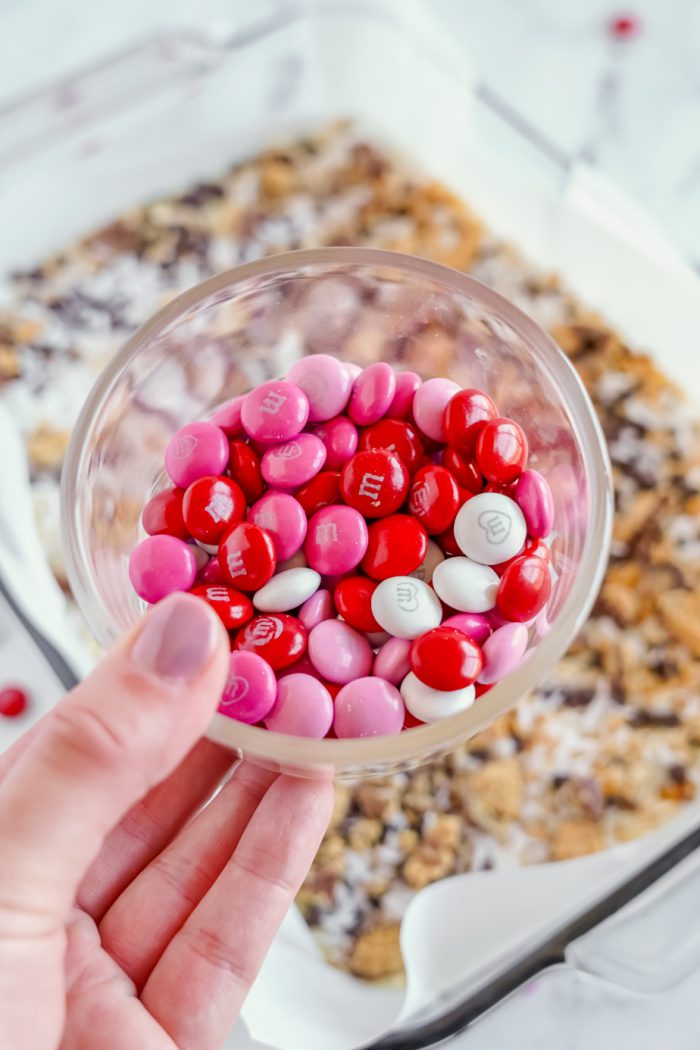
Then sprinkle on the Valentine’s Day M&Ms. (Be sure to save some for after baking!)
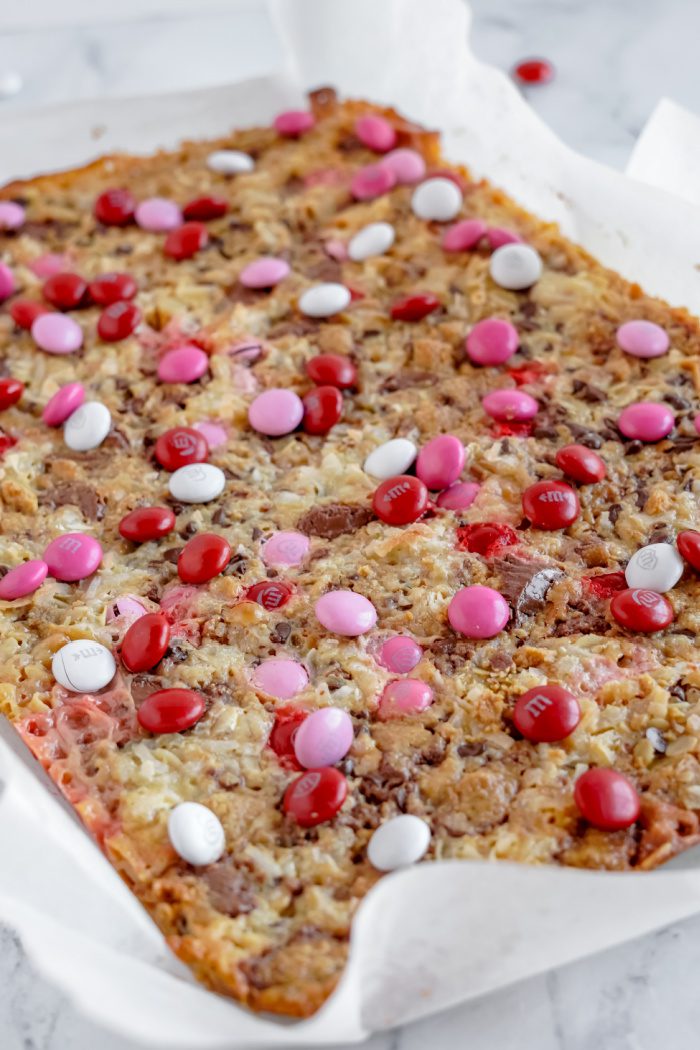
Finally, bake the magic bars for 25-30 minutes. Once finished, add the remaining M&Ms and let it cool completely. ENJOY!!!
Valentine’s Day Magic Bars Recipe
Ingredients:
1 1/2 cup graham cracker crumbs (1 sheet)
1 stick of unsalted butter
1 can of sweetened condensed milk
1/2 cup of old-fashioned oats
1/2 cup semi-sweet mini chocolate chips
1/2 cup coconut flakes
10-12 miniature Reese’s Cups (crushed)
1/2 cup M&Ms
Directions:
Line a 9×13 glass baking dish with parchment paper and pre-heat the oven to 350 degrees.
Crush graham crackers into crumbs using a blender or food processor.
Melt butter and combine with the crushed graham crackers. Press graham cracker mixture into the prepared pan.
Pour sweetened condensed milk over graham cracker crust.
Sprinkle oats, chocolate chips, coconut flakes, crushed Reese’s Cups, and M&Ms on top.
Bake for 25-30 minutes.
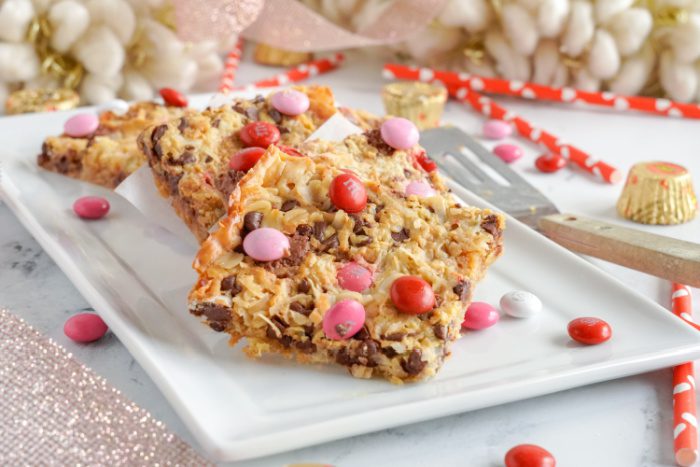
Remove from oven and let cool for 30-45 minutes before serving.
Magic bars will last for 2-3 days on the counter or can be frozen for up to 3 months.

Valentine's Day Magic Bars
Easy Valentine's Day Magic Bars are the perfect Holiday Recipe! Seven Layer Magic Cookie Bars are always an amazing treat for Galentine's Day and Valentine's Day Parties!
Ingredients
- 1 1/2 cup graham cracker crumbs (1 sheet)
- 1 stick of unsalted butter
- 1 can of sweetened condensed milk
- 1/2 cup of old-fashioned oats
- 1/2 cup semi-sweet mini chocolate chips
- 1/2 cup coconut flakes
- 10-12 miniature Reese’s Cups (crushed)
- 1/2 cup M&Ms
Instructions
- Line a 9x13 glass baking dish with parchment paper and pre-heat the oven to 350 degrees.
- Crush graham crackers into crumbs using a blender or food processor.
- Melt butter and combine with the crushed graham crackers. Press graham cracker mixture into the prepared pan.
- Pour sweetened condensed milk over graham cracker crust.
- Sprinkle oats, chocolate chips, coconut flakes, crushed Reese’s Cups, and M&Ms on top.
- Bake for 25-30 minutes.
- Remove from oven and let cool for 30-45 minutes before serving.
- Magic bars will last for 2-3 days on the counter or can be frozen for up to 3 months.
How did Magic Bars get their name?
The story of how Magic Bars got their name is some what of a mystery. But some people say the recipe became popular in the 1960s because of the musical “Hello, Dolly!” Name after the musical, another name for Magic Bars is “Hello Dollies”. Some people also call them “7 Layer Bars” because of all the different ingredients!
How long will Magic Bars stay fresh?
You can keep your magic bars on the counter for a few days or up to a week in the refrigerator. Just make sure they are in an air tight container to preserve the freshness!
Do Magic Bars need to be refrigerated?
No, there is nothing in Magic Bars that requires them to be refrigerated. But you can certainly refrigerate them if you’d like! Storing them in the refrigerator may make them less crumbly, which some people prefer.
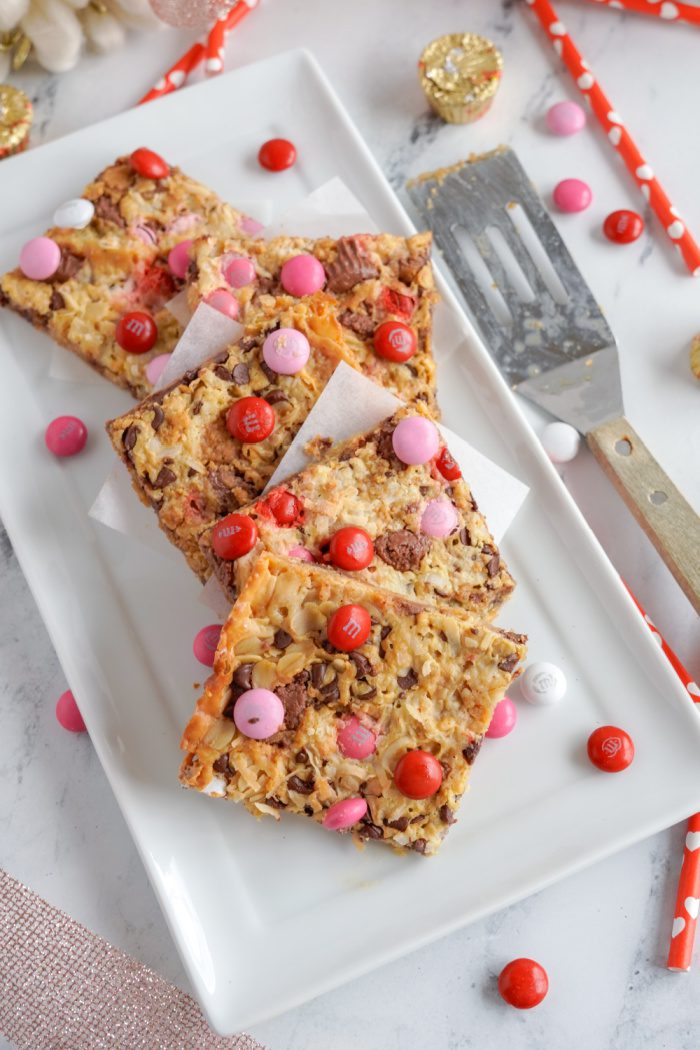
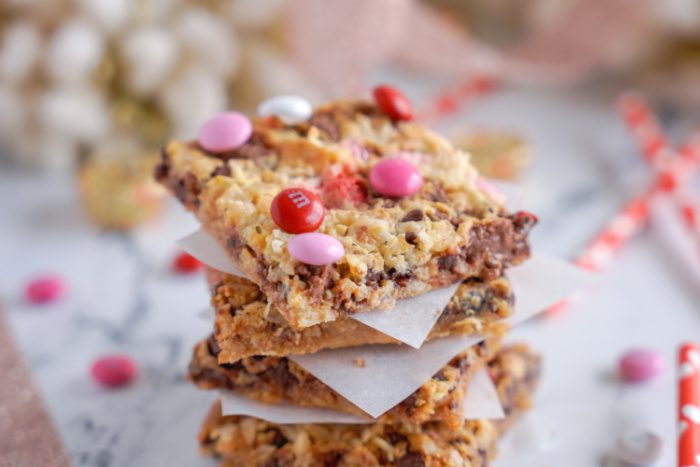
The thing I love most about magic bars is that you can change them up for any holiday! Just change the color of M&Ms!

Finally, if you are looking for more Magic Bars recipes, be sure to check out this Easy Easter Magic Cookie Bars Recipe!
 Download this FREE e-book today!!
Get access to 11 Sweet & Easy Dessert Recipes when you subscribe to our e-mail list!
Join LemonPeony on Pinterest!.
Pricing subject to Change at any time. Please make sure you check the current price on Amazon.com before purchasing. As an Amazon Associate I earn from qualifying purchases. Click here to view my entire Disclosure Policy.