At Home Nail Tips for a DIY Manicure or Pedicure!
I personally love going to get my nails done, but sometimes I just do not want to spend the extra money. Here are my At Home Nail Tips for a DIY Manicure or Pedicure to save some extra cash!
These are my personal At Home Nail Tips for a great DIY manicure or pedicure. These tips are not scientific, but they work for me! Try them out yourself and let me know how it goes! Also, feel free to share with me some of your favorite tips and tricks when you are doing your own At Home Manicure or Pedicure!
1. File your nails to your preferred length and shape. I recommend a strong nail file, but one that is not too rough.
2. Buff your nails with a Buffing Sanding Files Block. I feel like this really makes your nails smooth and allows the nail polish to stay better. This is super quick and easy, so don’t skip this step! Right now at Amazon you can get a 10 Count Package of these for only $3.22 + Free Shipping! You can always give some away to your friends if you do not need 10 buffers!
3. Wash your hands! This will get all of the dust off of your nails!
4. Apply rubbing alcohol to a cotton ball and rub each nail to clean it off.
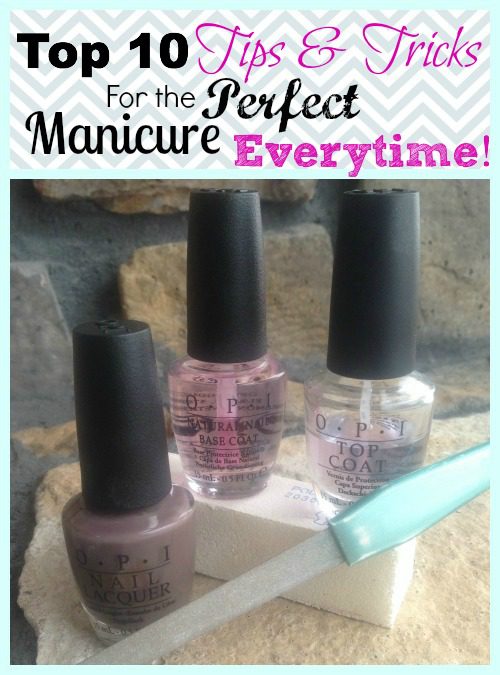
5. Apply a base coat of nail polish. I recommend the OPI Base Coat, it is one of my favorites and always stays well for me. Get this now for only $5.49 + Free Shipping at Amazon!
5. Apply 2 coats of your favorite nail polish color! My favorite nail polish color at this moment is OPI You Don’t Know Jacques! It is a great color for Spring, Summer, Fall, or Winter! Plus, it looks great on your fingers or toes! Get this now at Amazon for only $6.22 + Free Shipping!
6. After your nail polish has been able to dry a little, apply a top coat! I recommend the OPI Top Coat! You can get this at Amazon for only $5.39 + Free Shipping. I have also had good results from the Seche Vite Dry Fast Top Nail Coat! This is only $4.84 + Free Shipping at Amazon!
7. Spray your nails with Cooking Spray! I know this sounds weird, but I read this, tried it, and it worked! It helps them dry and not smear!
8. Let your nails dry! This is the hardest part of doing your nails at home. I like to do my nails right before I go to bed so that they can completely dry overnight. I know this doesn’t work for everyone, but I have found that if I let them dry around 20 minutes before I go to bed that the next morning they are completely dry and I don’t worry about “bumping” them and messing them up.
9. Clean Up! Let’s be honest, sometimes when you do your own nails it is easy to mess up and make a mess on your fingers! When I “get outside the line”, I like to put a little bit of nail polish remover on a q-tip and just rub off the excess that was left around or on my finger. I love that a q-tip is small and easy to handle. I don’t worry about messing up my nails this way.
10. Enjoy! I love being able to enjoy my nail polish for a few days. Even if it doesn’t stay as long as a gel manicure, you can always take the polish off and redo them or try something new!
Glitter Nail Polish is super popular right now, I can’t wait to try a new color and throw on some extra sparkle! If you know me, you know that I love adding a little (or a lot) of glitter where I can!
Visit Julie Story’s profile on Pinterest.
Pricing subject to Change at any time. Please make sure you check the current price on Amazon.com before purchasing.
Posted by Julie Story. This post may contain affiliate links. Please read our Disclosure Policy.


